Recording a flute is a process where you capture the sound of your flute and transform it into audio.
I’ve been recording instruments for a long time. I know how to record saxophones and other woodwinds too.
Also, I’ve incorporated a lot of new techniques based on the advice of an audio engineer.
So, I will share all my knowledge on how I record a flute in my home or a recording studio.
1. General Recording Setup
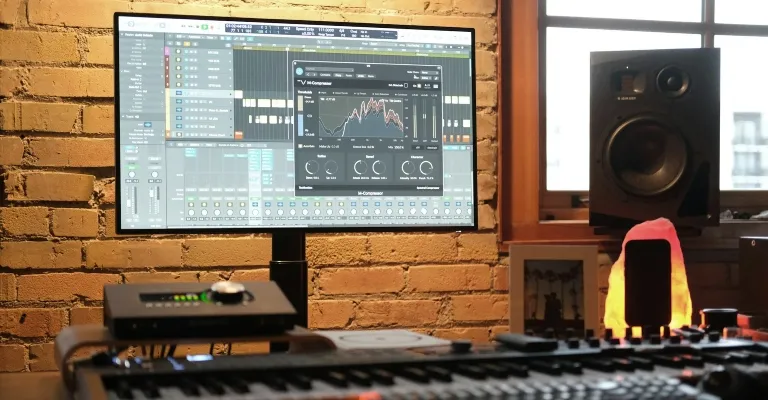
First off, we’re going to start with the general setup. This means that you need to have a recording gear.
Mandatory equipment is a laptop, microphone, and audio interface. But also, need to have good studio monitors, an isolation booth, or a shield for cleaner recording.
Additionally, it’s recommended to have carpet on the floor and accessories such as a mic stand and headphones.
And of course, before you start recording, you need to assemble your flute and tune it.
Instrument
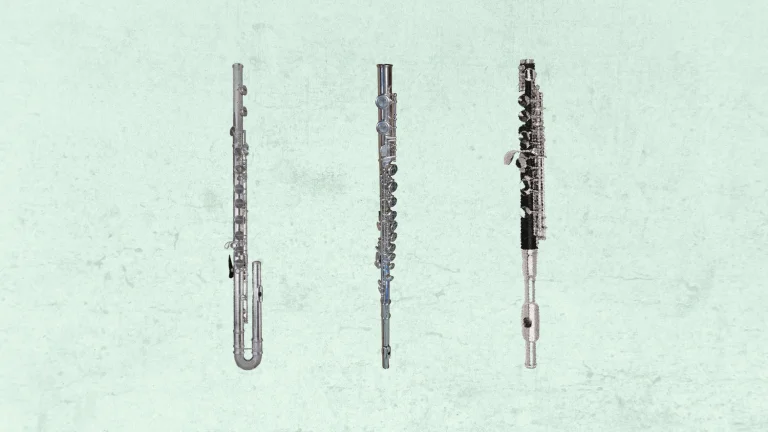
Of course, before starting recording you need to choose the right flute. But not all of us have many flutes, right?
In general, when you record a flute at home, most flutes will work if you have good recording gear.
So, you can use a student flute or a professional flute. You will get a good sound if you record it properly.
However, it is important to tune the flute as perfectly as possible. Because if a flute is not tuned properly, it will be bearable in a recording.
Isolation Booth & Shield
The first piece of equipment for good recording quality is the isolation booth. If you don’t have it, at least use an isolation shield.
A soundproof booth helps reduce noise, lessening the effect of echoes from the musician’s flute and mic. Additionally, a vocal shield blocks the microphone from wall reflections, minimizing bounceback.
When deciding between the isolation booth and the shield, most people would choose the booth. But, if budget is a concern, the shield can be a good option, especially when used with a condenser microphone.
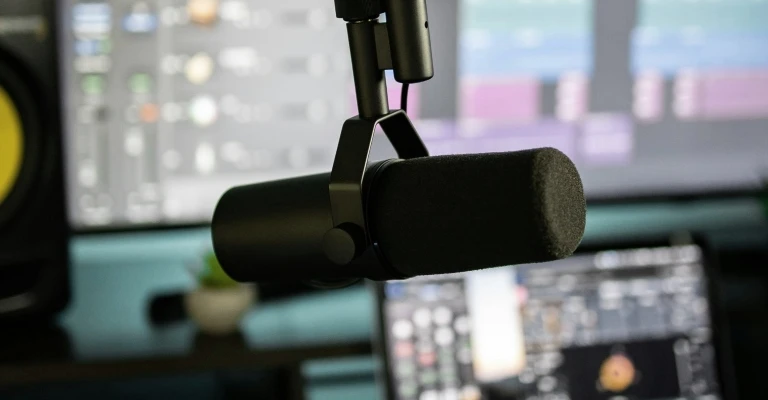
Microphones
Now, you can use various mics to record your flute and you can use condenser or dynamic mics. I love using MXL 990 and Shure SM57.
In my experience, dynamic mics work better in a studio environment while condensers are better at home.
Also, you can try to use both types of mics to get more in-depth sound. You can use a dynamic mic as the main sound source and a condenser for the room sound.
I recommend testing different combinations and finding the right sound for your room and personal taste.
Headphones & Studio Monitors
Next, you need to have a good pair of studio monitors and headphones. These are so important to get the sound you like.
When you use headphones, the mic won’t pick up the backing track sound. And studio monitors will come in handy in the remixing process or when listening to your recorded sound.
I like using Audio-Technica M40x headphones because they have the flattest frequency response. For studio monitors, KRK Rokit 5 will work because they have great sound and affordable prices.
Laptop & Audio Interface
So, of course, you need a laptop or a PC and recording software (DAW) to record any sound.
Don’t think too much about it because every modern laptop will work. But I recommend using a laptop that has at least 8GB of RAM. Also, a multi-core CPU is recommended.
But to capture the sound you need an audio interface. It’s a device where you plug your microphone, connect it to the laptop, and record the sound in your DAW.
There are plenty of audio interfaces but if you are on a budget Focusrite Scarlett Solo or Scarlett 2i2 will work.
They have a phantom power option that is needed for condenser microphones.
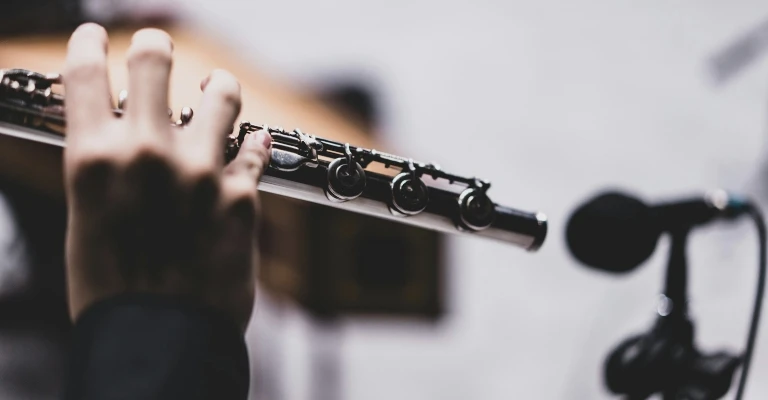
2. Microphone Placement
The next topic is microphone placement. Recording at home for the studio is crucial as it greatly impacts how you sound. My biggest pet peeve is when there’s an airy flute tone.
Typically, when I’m playing, my airstream tends to flow towards my elbow. I position the microphone slightly above that.
Also, the distance between the instrument and the microphone is important when recording the flute.
It also depends on how strong your microphone picks up the sound. Make sure you’re not too close to it. Otherwise, you’ll end up blowing air directly into the microphone, causing a lot of wind noise.
We want to avoid fuzzy flute tones. It’s effective to position the microphone towards the sound, but avoid pointing it towards your airflow.
You can also try positioning the microphone above, which I have tried in the past. However, keep in mind that you won’t be able to utilize the microphone isolation shield in this setup.
3. Tips To Record A Flute
Now you know how to record flute but there are some general tips and considerations. So, I will share everything from my experience.
- Tip 1: Create a quiet environment in your home. Make sure there are no pets, kids, or other people around, and try to minimize any noise from appliances. This is especially important if you’re using a condenser microphone.
- Tip 2: It’s crucial to wear comfy clothes while recording. Since you’re at home, there’s no need to worry about looking presentable. Just focus on being comfortable, and it will reflect in your recording.
- Tip 3: I also think it’s fascinating how temperature can impact the way you play the flute. If the temperature of your surroundings changes while you’re recording, the flute may go out of tune.
- Tip 4: Avoid rooms with ceiling or other types of fans. If you have it, turn them off. If you turn the on, you will hear that wobbly, bubbly sound when you’re playing, and you don’t want that noise getting picked up by the microphone.
Conclusion
To record your flute flawlessly, it’s crucial to pay close attention to both the equipment and technique used. Based on my experience, using decent recording equipment and instruments will give you great results. But the more important thing is the correct placement of the microphone.