In this guide, I will teach you how you can assemble your flute. This is an essential step for every beginner player.
I already have an article about flute tuning but for that, you need to put your flute together first. So, read this guide and pay attention to the details.
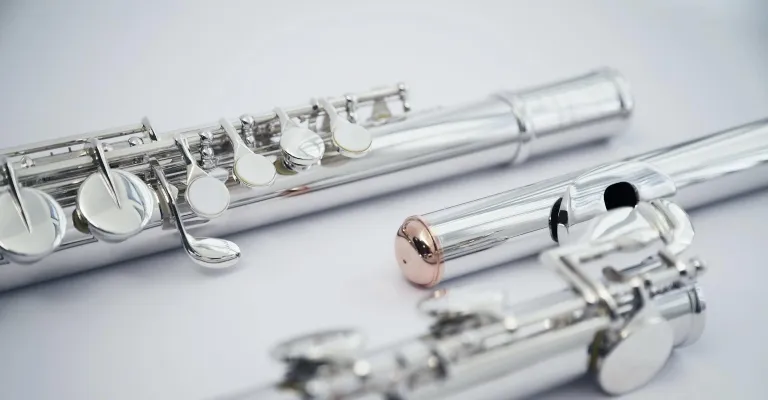
1. Flute Body
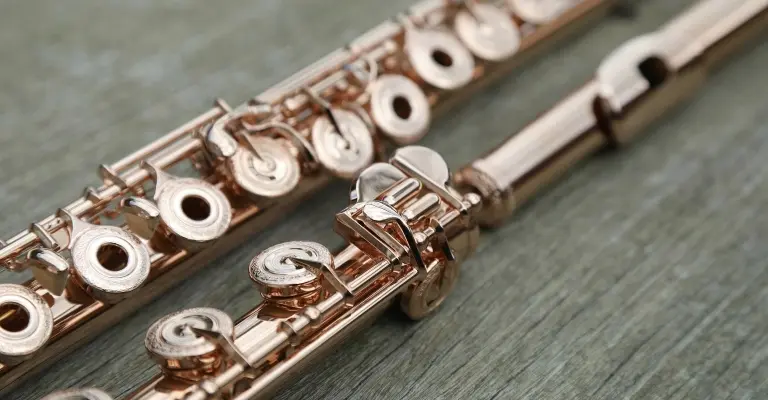
First, let’s start with the body of a flute. Of course, it’s the longest piece of your flute and it has all these keys going across the top.
You’ll also notice that it has holes on both sides – an open hole on the top and another hole on the bottom.
To assemble a flute properly, you need to hold the body of a flute close to the end, where there aren’t as many keys.
But before you do all this, it’s important to clean your flute to avoid any issues.
2. Assemble Body & Head Joint
Now it’s time to adjust the head joint of the flute. You’ll see on your head joint that one end is closed, a crown, and on the other end, there’s an open hole.
To put a flute together, you should hold the head joint in your left hand close to the open hole.
Next, you need to attach the head joint to the body by placing them together. Do a gentle twisting motion, and they go together easily.
When you take your flute apart or put it together, you should always do this gentle twisting. No matter the type of flute you have.
Alignment
So, the flute body and head joint are connected. But you need to make sure that it’s lined up properly.
On the head joint, there is an embouchure hole that we blow into. This hole should be aligned in a straight line with the line of keys on the body.
You can go with your finger and make sure that they’re lined up. Or you can look down and ensure that alignment is correct.
3. Adding The Foot Joint

Now it’s time to attach the third part of your flute which is the foot joint.
The foot joint has holes on both sides, like the body. The side that you will attach to the bottom of the body is the side where the keys are.
So, like you held flute body, you need to hold the foot joint with your right hand. Use a gentle but firm grip so you don’t bend any keys.
Like in the previous step, twist back and forth and they should go together nice and easy. Also, you should align the foot joint with the rest of the flute.
Many beginners think that you should align the foot joint key with the body keys. It might look the correct way but in reality, it’s not.
The rod should be in the center of the bottom key of the body when aligning the foot joint. This is how you line up the foot joint and the right way to assemble a flute.
4. Final Checks
Finally, let’s do final checks and make sure that our flute is put together properly.
Make sure that the embouchure hole is aligned in a straight line with the keys of the body. Then at the bottom, the rod of the foot joint is lined up in the middle of the bottom key.
That’s it. Now you know how to put a flute together and it’s time to play your flute.
Conclusion
As you see, assembling a flute involves connecting and aligning the body, head joint, and foot joint. Remember that you should align the embouchure hole with the keys on the body. Then, the foot joint rod should be centered with the bottom key on the body. Knowing the right way to put flutes together will help you to produce good sound and also, avoid any damage.