In this article, you will learn how to assemble a clarinet and what to consider in the process.
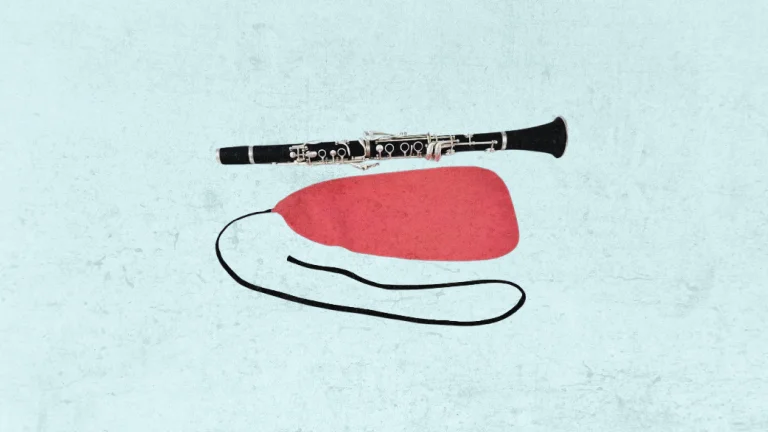
But before you start it, you should clean your clarinet and it’s a very important step. Never put a clarinet together if it’s not cleaned.
So, now it’s time to open the case and start assembly.
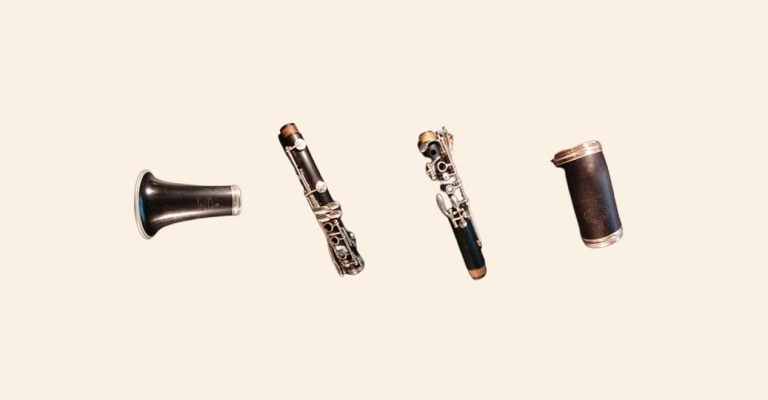
1. Parts & Accessories
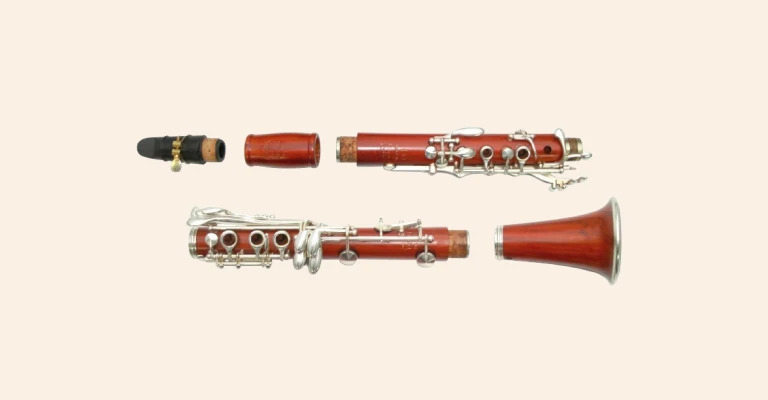
First, you need to assemble the mouthpiece which includes the mouthpiece, ligature, and cap.
The next smallest piece is the barrel and then you have the upper joint. It’s the smaller of the two big pieces, and the lower joint is the biggest. Finally, we have the bell, which looks exactly like a bell.
Also, to put your clarinet together, you will need the reed and cork grease. Try to use good-quality reeds for clarinet.
2. Assemble The Mouthpiece
So, now you need to assemble the mouthpiece and the barrel first. It’s a straightforward thing to do even if you have never done it.
Twist those two pieces together and if it’s too tight, you can use the cork grease. The important thing is to use cork grease on the mouthpiece. You need to put a very thin layer of cork grease on the cork.
Once it’s applied, try twisting the mouthpiece and the barrel together once again.
With both pieces put together, you can grip the barrel to hold the mouthpiece while adding the reed and ligature.
3. Reed & Ligature
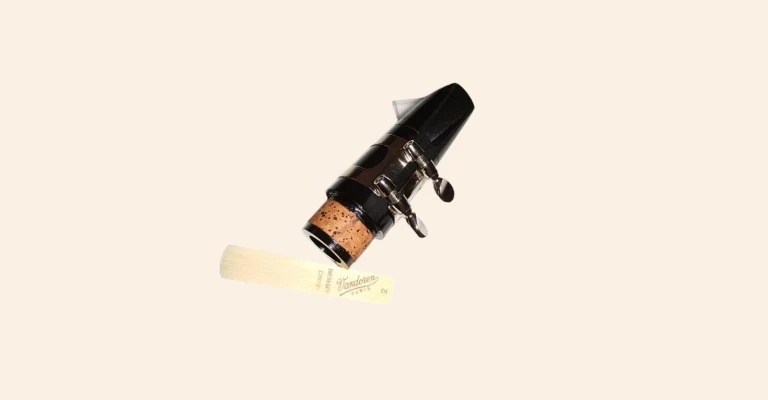
Reeds come individually packaged or sometimes they come in a box of five or ten. Most of the time, reeds are in a case and be careful when removing them. The tip of the reed is very thin and fragile.
When you assemble a clarinet, never touch the reed if it’s chipped, cracked, or broken. You won’t be able to tune a clarinet and the instrument will not play. Just replace it with a new one.
To put the clarinet reed on the mouthpiece, put the flat side of the reed on the flat surface of the mouthpiece. You want to line up the tip of the reed with the tip of the mouthpiece.
Look down at the mouthpiece and you should see a very small sliver of black mouthpiece above the tip of the reed.
Now it’s time to add a ligature which is a metal ring. It holds the reed onto the mouthpiece. Place this over the assembly and tighten the screws.
The reed appears tapered and has a distinct color at its thickest point. The ligature should be positioned below this tapered section of the reed.
4. Assemble The Main Parts
You should start with the bell and the lower joint when assembling the clarinet. The bell can twist onto the lower joint.
Next, you will assemble the upper joint with the lower joint. But be careful when assembling these two pieces.
There is a piece on the upper joint called the bridge key. It’s what bridges the upper joint to the lower joint. It’s crucial to press the keys firmly on the upper joint when putting together these two parts.
Now, line up the holes on the upper joint with the holes and keys on the lower joint. Then gently twist it in small motions back and forth. Try to keep the keys as aligned as possible.
When putting together the upper and lower joints, ensure to not twist. This way, you will prevent the keys from colliding and bending.
In the next step, grip the barrel and attach it to the top part of the clarinet. Make sure the mouthpiece is in line with the reed and the register key, which is the long key at the back of the upper joint.
Remember, when you don’t play, you should put the mouthpiece cap on the mouthpiece. Not only does this protect the mouthpiece itself, but it will also protect your reed.
Conclusion
So, I think it was a helpful guide about assembling a clarinet. As you see, It involves putting together several main parts. Take your time, use cork grease if needed, and avoid damaging the instrument. Once assembled with all parts secured, the clarinet is ready to play. Proper assembly and maintenance is crucial for producing the desired sou